
In this instalment we'll look at the basic operating features of the MeinEnigma.
It should be noted that this is based on the version 0.92 software. The details of the features could change as the software is developed, and of course the user can change it by reprogramming the Arduino.
If you don't have a basic knowledge of how the original Enigma machine worked, not all of the terms used here may make sense, but I'll not to get into too many technical details.
Power On
When the rotary switch is in the fully counterclockwise position, the unit is off. With power connected (we'll assume batteries), you turn it on by rotating the function switch clockwise one position.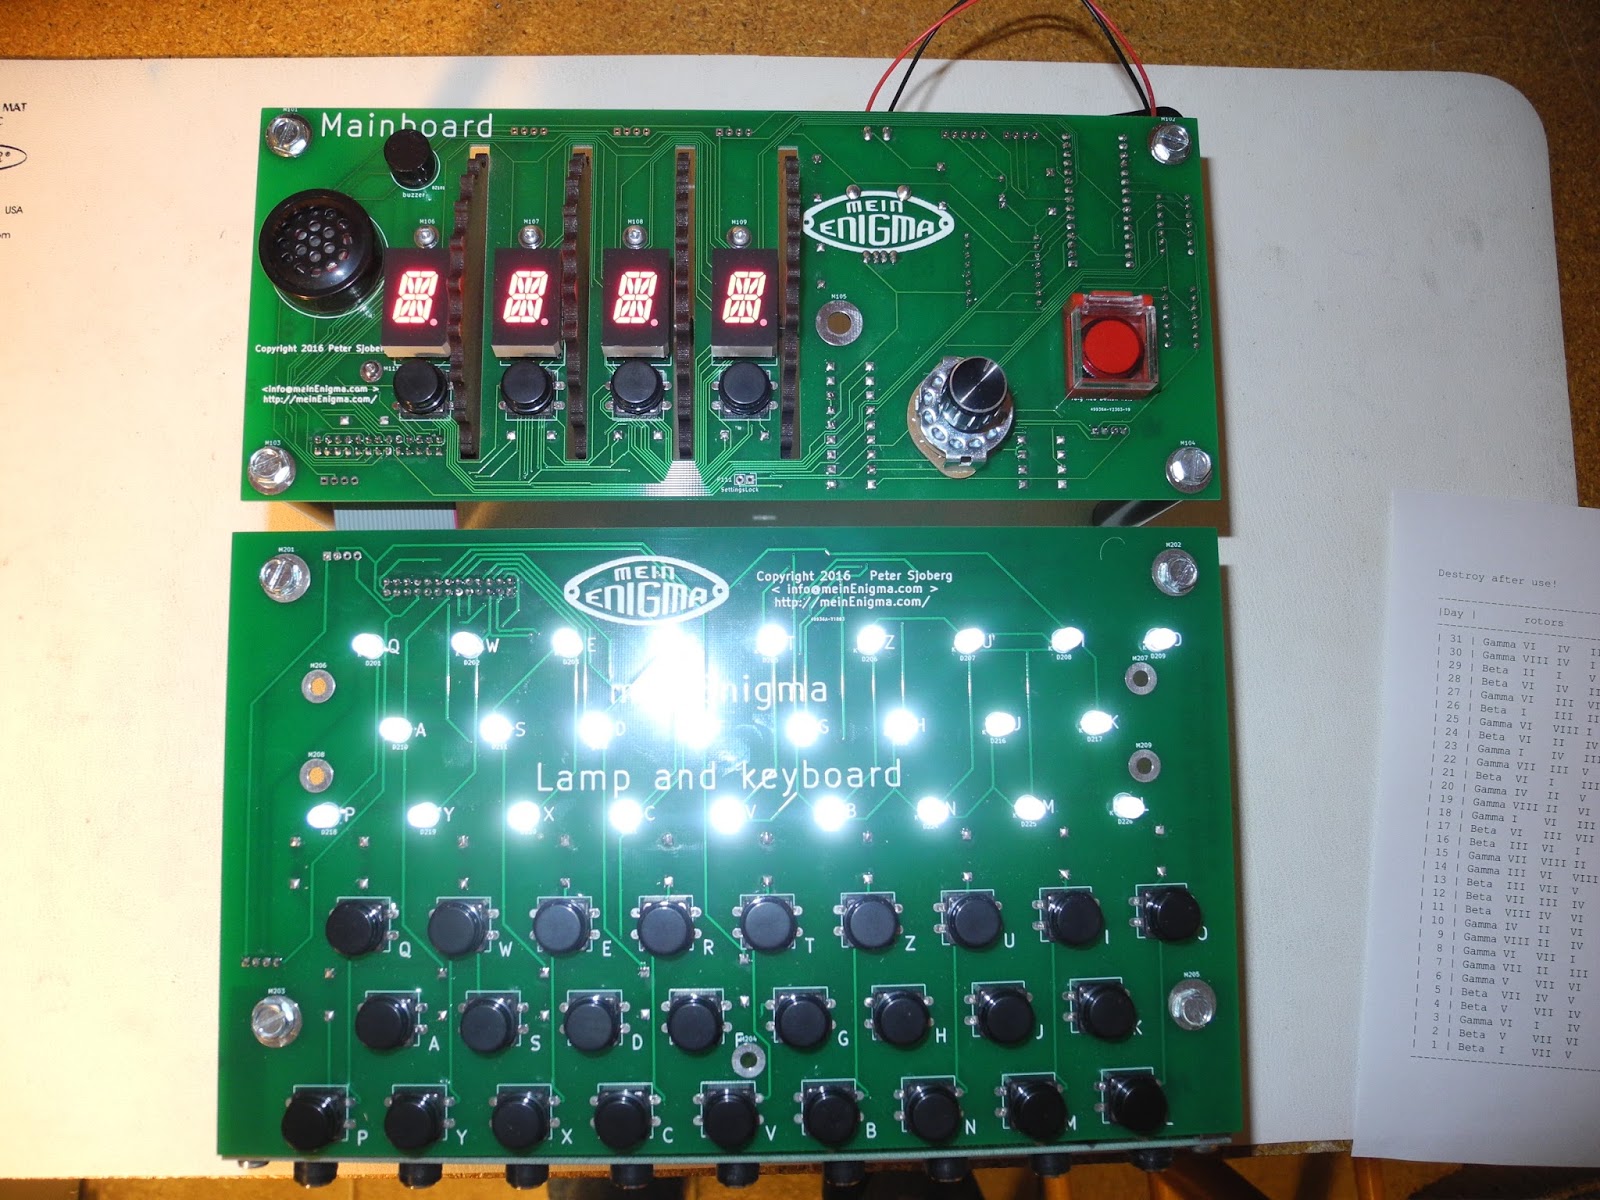
The unit will beep, all LEDs and displays flash on, it speaks "MeinEnigma Starting Up", and displays ENIGMA on the display.
Model

It then says "model". It will go into this state whenever the function switch is in this position. It is expecting you to select what model of Enigma to emulate. The currently supported models are:
- EN I, the Enigma I, used by the German Army and Air Force
- M3, the Enigma M3 used by the German Navy
- M4, the Enigma M4 used on German U-Boats
Also in this mode you can press certain plugboard keys to change some
settings:
C - to enter clock mode where the time is display.
K - toggle the keyboard and rotor click sounds.
L - lamp test (turn on all displays and LEDs).
M - toggle Morse code output
O - odometer, show total number of encrypted/decrypted characters.
S - display serial number
T - toggle text to speech output
V - show software version
Reflector

Turning the function switch one more position to the right goes in reflector mode. It speaks "Reflector" and allows you to select what reflector to use using the leftmost rotor. The choices depend on what Enigma model was selected.
Rotor

One more turn goes into rotor mode. It prompts "Rotor". This is where you select each rotor (either 3 or 4 depending on the Enigma model selected). Each rotor must be different, as in the real Enigma the operator would physically insert one rotor from an available set in each position.
Plugboard

On more click moves to plugboard mode. It has two modes, virtual and physical plugboard. Turning the first rotor toggles between modes.

In physical plugboard mode you physically connect wire jumpers on the plugboard. Up to 13 jumpers are supported (the kit comes with 10). The plugs swap the corresponding characters as they pass through the Enigma's (virtual) circuitry. The plugboard is actually responsible for the majority of the huge number of possible encryption settings.


In virtual plugboard mode you can make jumper connections in software without using cables. Turn the second rotor to select a jumper number from 1 to 13. Turn rotor 3 to select the letter to connect from and rotor 4 to select the letter to connect to. You can do this for up to 13 jumpers.
In the reflector, rotor, and plugboard modes, you can press any keyboard key and the corresponding LED will light as well as voice or Morse output, if enabled.
Run

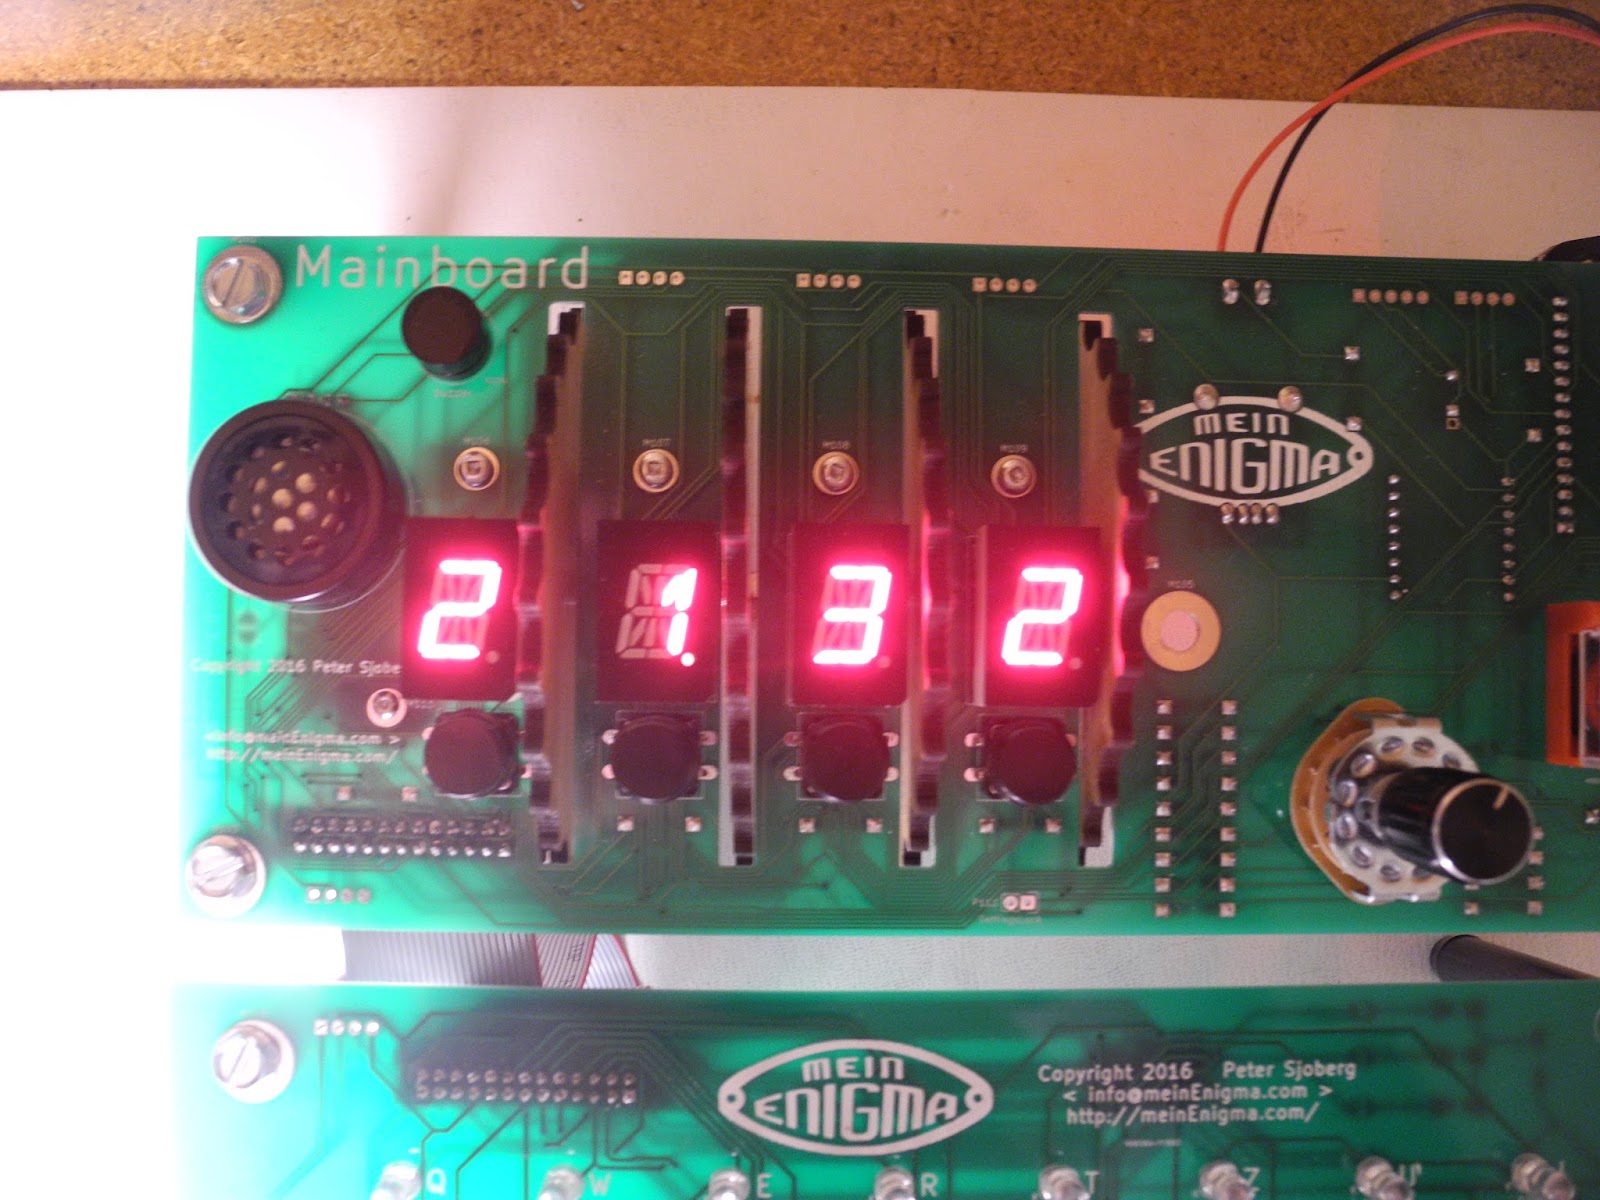
Turn the function switch clockwise once more to the final position. It will say "run". You can now run the machine, but first you need to set the rotors. On the original Enigma each rotor had an internal ring which could be turned. This position is indicated by the decimal point being lit next to the corresponding rotor. To set it, turn the rotor until you see the decimal point lit. Then press the corresponding button next to the rotor, and while it is held down, turn the rotor. The position where you release the button will be the ring setting. You can do this for each rotor.

Finally, you need to set an initial rotor setting, which is done by turning each of the the rotor wheels to the desired position (without any buttons pressed).
Operation
We are finally ready to encrypt text. Press a key on the keyboard and the encrypted value of the character will be shown by an LED lighting and sound output and/or Morse code output (if enabled). Then press the key for the next character in the message and note the encrypted value. Hopefully you are writing these down!


Essentially the way the Enigma machine was used was that a set of machine settings were defined for a given day. Typically a month's worth of daily settings were distributed to all of the senders and receivers of messages in some secure way (like a military courier). To send a message, the machine was set up according to the settings for that day using a table like the one below:
Destroy after use! meinEnigma April 2017
generated on http://meinEnigma.com/keychart.php
---------------------------------------------------------------------------
|Day|UKW| rotors | Rings | Plugboard |Start|
---------------------------------------------------------------------------
| 4 | C | Beta VI V II| R Y Z T| AR CE DG FP HQ JT LU MV NY SZ | VZLY|
| 3 | C | Gamma II III VI| B R S L| AY BF CJ DZ ET IW KN LS PU RX | LNER|
| 2 | B | Gamma VIII VII VI| G N W B| AI BZ CQ DP EF GR JK NX TW VY | YQBV|
| 1 | B | Gamma I VII VI| L T M F| BH CT DG ES FK IV JM PU QY RX | RLAC|
---------------------------------------------------------------------------
This would include the reflector, rotors, rotor rings and initial settings, and plugboard jumpers. The operator would encrypt the message and then give it to a radio operator to send. A typical encrypted message would consist of groups of 4 or 5 characters like this:
IMYVF LTQJI MG
On the receiving end, the machine would be set up with the same daily setting, and the encrypted message entered. Because the encryption process was symmetrical, the result would be the original message.
For example, if I enter the message above using the same settings, the decrypted characters are:
ATTAC KATDA WN
Or by adding spaces in the correct places: ATTACK AT DAWN.
In practice, the process was a little more complex. There were additional characters sent at the start of a message. Numbers and punctuation were sent by spelling them out and by using abbreviations that were defined in an operating manual. You can learn all of the details of the Enigma machine by checking some of the many web sites and YouTube videos on the Internet.

The MeinEnigma has a few more features: the "big red switch" will, after removing the safety cover, erase all of the machine settings. While this is really just for fun, you can imagine a real life scenario where an Enigma machine operator might be facing capture by the enemy and need to quickly erase the machine settings. You can Google for German submarine U-559 to read about a real case of the capture of an Enigma machine and code books before they could be destroyed, which helped the Allies in breaking the Enigma cipher.

The MeinEnigma can also be controlled by a computer through the serial port available from the Arduino's USB interface. You can both control the unit as well as encrypt text. I don't have room to describe the details here, but I may do so in a future blog post and it is covered in the MeinEnigma manual. Here is an example, the output of typing the "settings" command:
!SETTINGS
fwVersion: 0.92
preset: 0
Odo meter: 470
morsecode: OFF
Serial number: 16
model: EN I(Enigma I, German Army and Air Force (Wehrmacht, Luftwaffe))
reflector: UKWA
Rotors: I - II - III
ringstellung: - A A A
Plugboard: virtual - AZ
currentWalze: - A A C
Time is :20:54:41
You can save and load up to 15 different machine configurations over the serial port. You can load the first four by holding down one of the 4 rotor buttons on power up.
Summary

We've looked at most of the operating features of the MeinEnigma. In the next blog post I plan to say something about the hardware inside.
References
- MeinEnigma website: http://meinenigma.com
- Source code: https://github.com/lpaseen/meinEnigma
- MeinEnigma YouTube channel: https://www.youtube.com/channel/UC3s44doR_q1fKQ4ZMUeAlHQ
No comments:
Post a Comment