Thursday, April 5, 2018

Rebuilding The Heathit AT-1 Transmitter - Starting Assembly

Finally the tube sockets arrived, so I could get started with the actual assembly.


The new sockets were a little smaller than the originals and the mounting holes did not quite line up with the existing holes in the chassis. I cut the holes in the sockets into slots using a Dremel tool and cutoff wheel. That made it fit well enough.


As well as the tube sockets and terminal strips, I remounted the transformer and choke, front panel controls and panel.


I'm now ready to start wiring and installing the components.

Wednesday, April 4, 2018

Rebuilding The Heathit AT-1 Transmitter - Winding Inductors

As mentioned earlier, I will reuse the original band switch and oscillator coils, power transformer and filter choke. I decided to wind new RF chokes using toroidal cores.

It calls for two 1.1 mH chokes and one 90 uH. I used a little toroid design application I wrote myself and came up with these designs:

   1.1 mH: FT-82-43 core, 44 turns, #28 wire.
     90 uH: FT-50-43 core, 13 turns, #28 wire.


I wound them and measured the values using my AADE L/C meter. They read a little low so I added a few turns.


One other part I didn't mention earlier - I will replace the line cord with a new one using a brown two-wire extension cord that is similar to the original.

Tuesday, April 3, 2018

Rebuilding The Heathit AT-1 Transmitter - Painting the Chassis


The chassis was very corroded. It is steel plated with copper, and because the corrosion has come through the plating, sanding it will not restore it to as new because the copper is gone in some areas.

It could be replated with copper, but that is quite an effort to go to or an expense to have done commercially by a plating shop.


My solution was just to paint it. After some seartching I was able to find metallic (shiny) copper spray paint at a Michael's craft store. A lot of small coats were applied to the
top, bottom, and sides, until the finish was acceptable.


I also straightened it as it was a little bent (using a hammer protected by a towel).

The paint is not conductive, so I need to scrape it off wherever the tube sockets, terminal strips, and connectors connect to the chassis so that they make a good connection to ground. You can do this with a large drill bit turned by hand, and with a small file for the larger holes like those for the tube sockets.

Monday, April 2, 2018

Rebuilding The Heathit AT-1 Transmitter - Sources for New Parts

I researched and ordered the new parts I would need.


First was a new manual, as there were no complete manuals available on the Internet. I ordered a manual from The Manualman, a source I've used before and which offers very high quality spiral bound reproduction manuals. It arrived within a few days and was very clean and complete with foldout schematic and illustrations.


While I had a few of the necessary capacitors in hand, I ordered the rest from Just Radios. They stocked everything I needed, including the silver mica caps. The order also arrived in a couple of days.

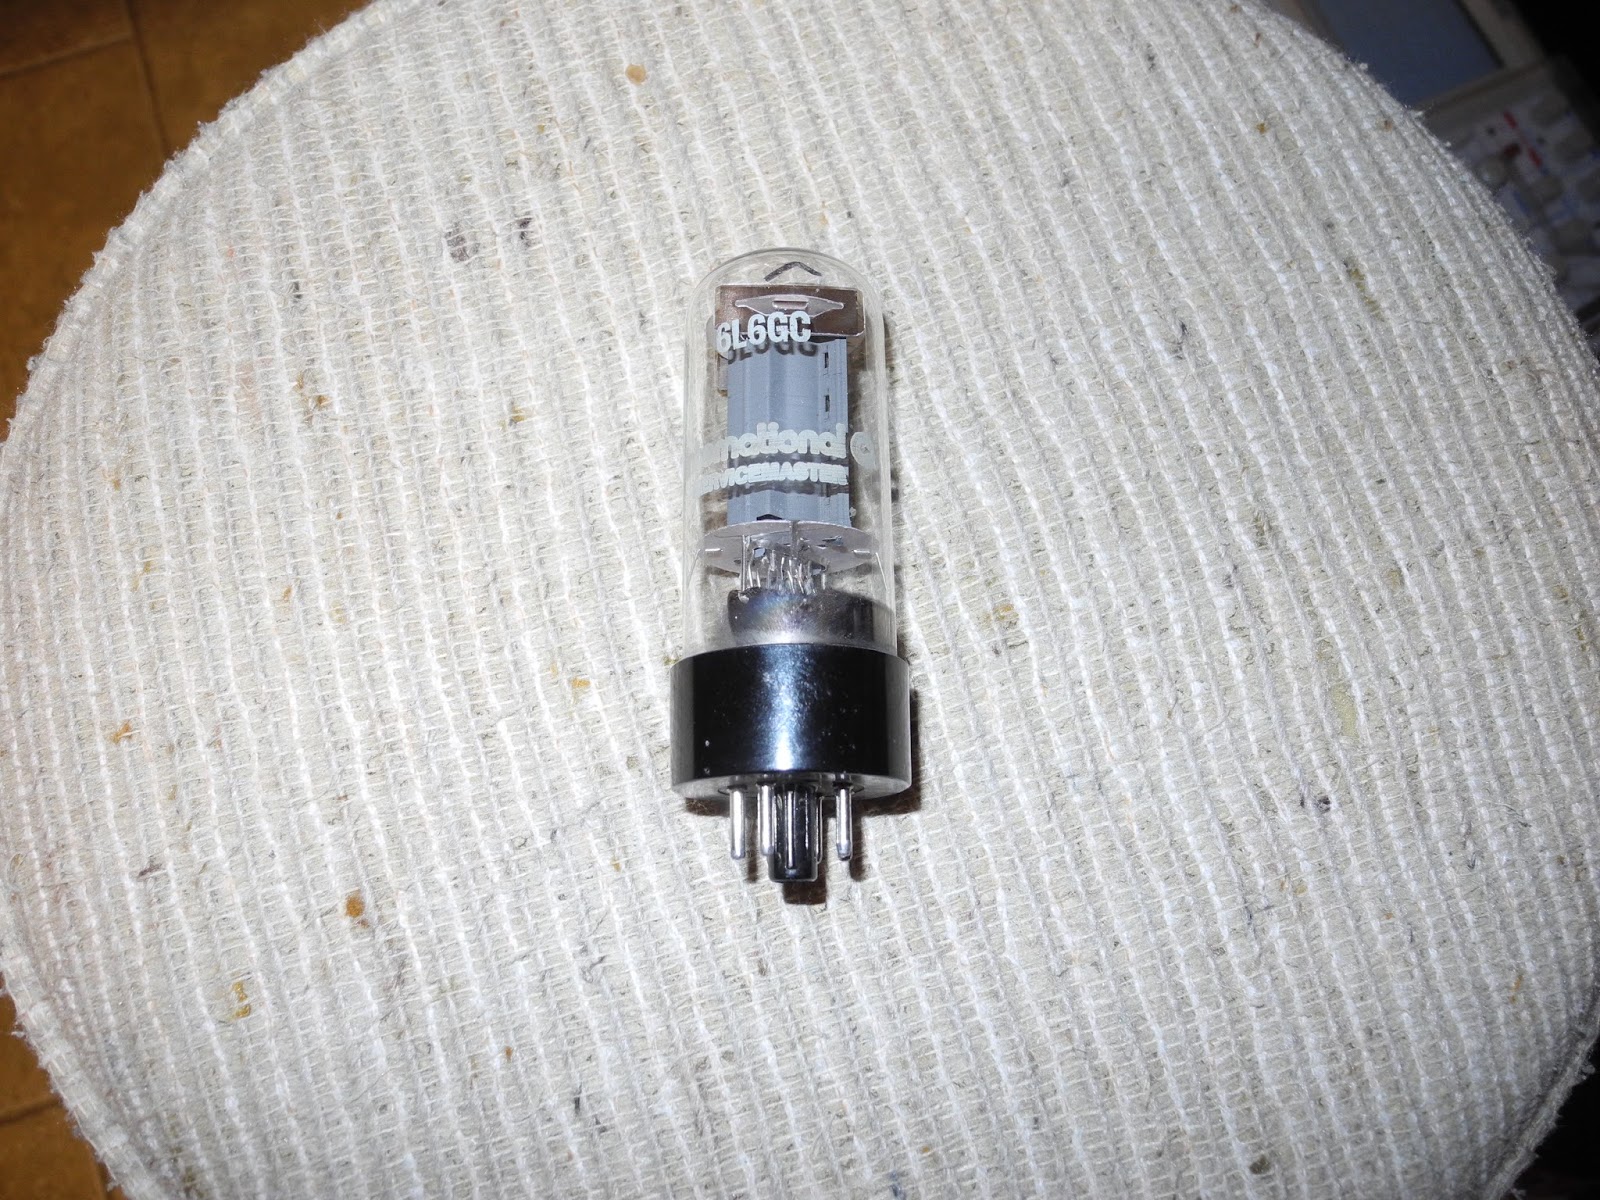
One item that took some research was the 6L6 tube. It is available, but can be expensive because it is also popular with tube-based electric guitar amplifier and hi-fi/stereo enthusiasts. The original metal 6L6 is harder to find than the glass 6L6GC. There seems to be no reason I can't use the 6L6GC and in fact it has better specs, so I opted to go with that. Being in Canada, shipping was quite high from some of the larger tube vendors. I ended up finding a NOS 6L6GC tube on eBay (from a seller in Germany). I have now received it.

Some more searching on eBay found sources for the octal tube sockets and plugs that I needed. These have been ordered but have not yet been received yet (they are coming from China).

I had all the needed resistors on hand.

I will use the original band coils and oscillator coils as they are unique to the AT-1, as well as the variable caps. It appeared that some of the RF chokes in my unit had been replaced with different values (and there were four rather than three -- one appeared to be added as a key click filter). I decided to wind replacements for these myself using toroidal core, which should perform well but not appear original.

I will also keep the power transformer and filter choke.


The terminal strips, jacks, switches, and other assorted hardware will be replaced or the existing ones used depending on condition of the original parts and what I have on hand.

Sunday, April 1, 2018

Rebuilding The Heathit AT-1 Transmitter - Teardown

I took a deep breath and totally tore the unit down to the bare metal chassis.


While doing so, I noticed a couple of capacitors with open leads - one power supply filter cap and one (large red) mica cap. I'm not sure if these were in this condition before I started the teardown.


I removed all wires and components from the terminal strips, switches, tube sockets as I will have to reuse some of them. The component leads were straightened and they were all set aside.

I kept all parts, although I'm not planning to reuse any of the fixed caps or resistors.

Saturday, March 31, 2018

Rebuilding The Heathit AT-1 Transmitter - Planning

To plan the AT-1 restoration, I collected information I could on the unit including a partial manual and some other articles published in the past on the radio and modifications for it.


I took many high resolution digital camera pictures from as many angles as possible to assist when I reassemble it.

I also made a spreadsheet of the parts list (bill of materials), based on the BOM in the manual, annotated with component designations (the original manual did not use any) and notes on whether to reuse the existing part or purchase new one, and the vendor to get the parts from, where applicable.


I took key voltage measurements as well as measuringe the RF power output, for later comparison when it is rebuilt. I get about 10 Watts of power on the lower bands, and 4 Watts on 10 meters.


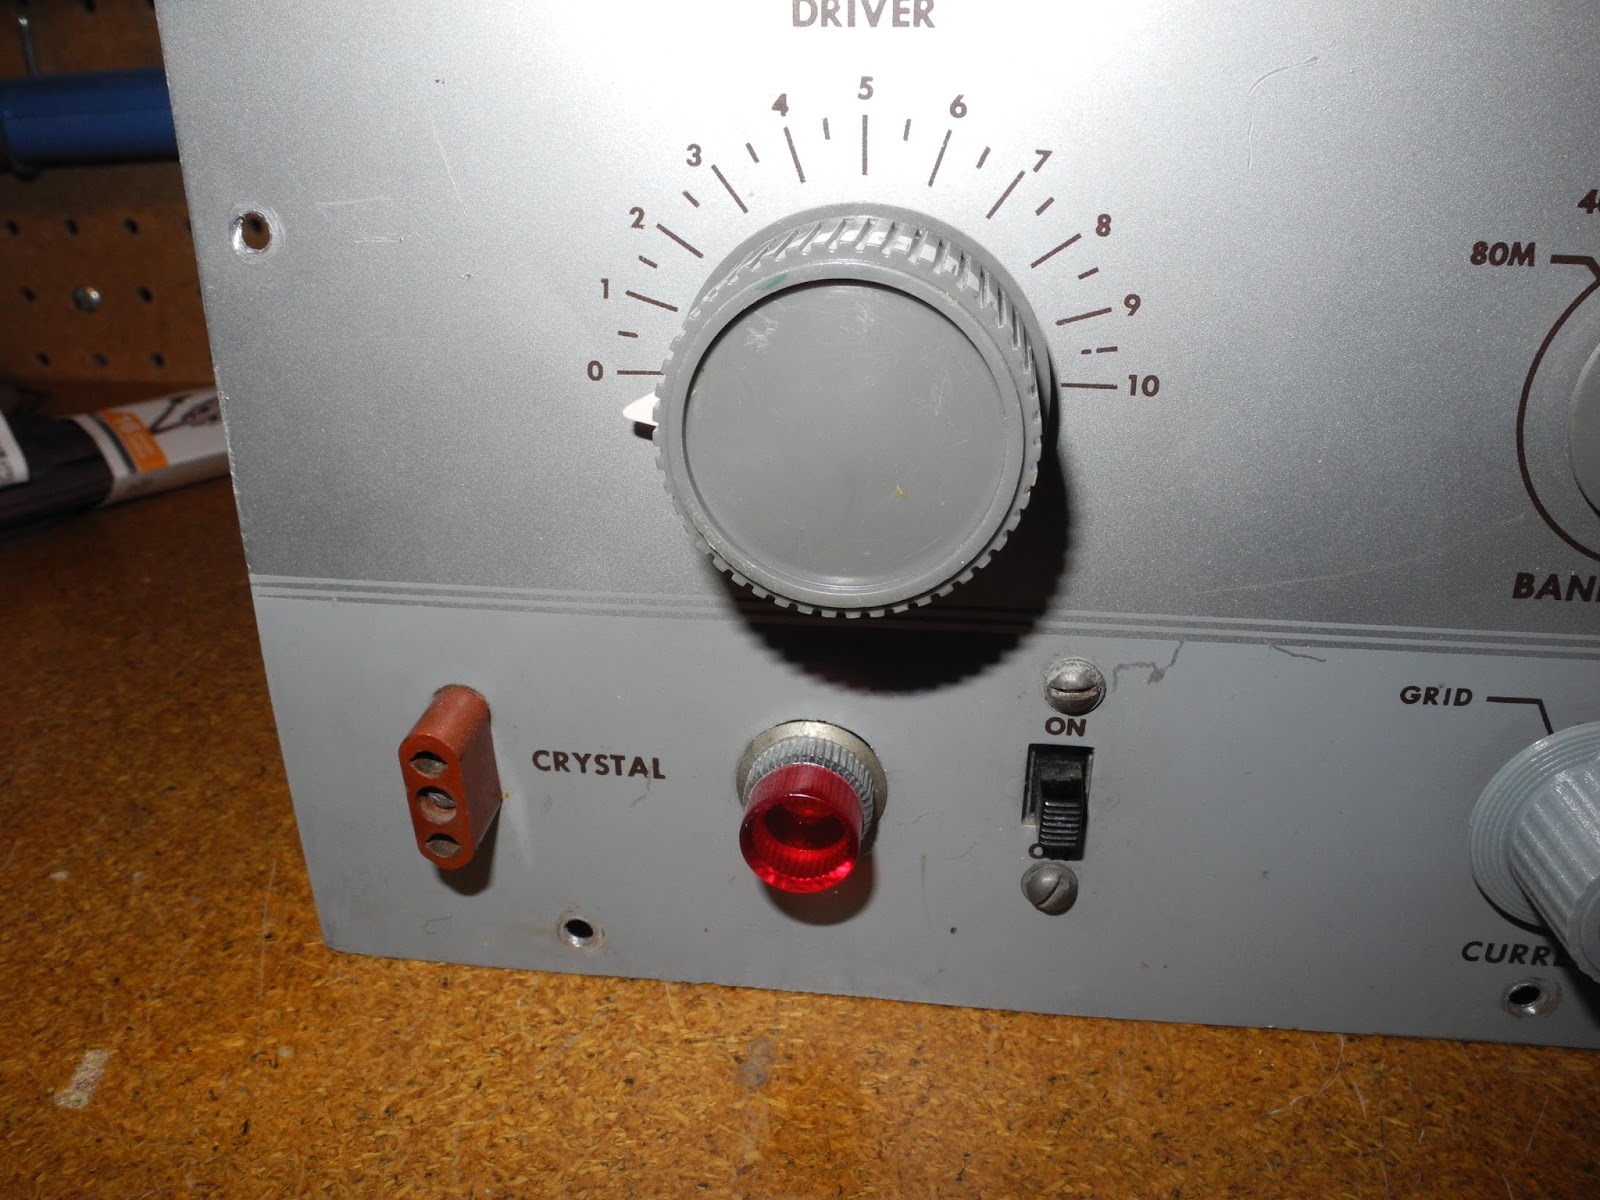
I think I will keep the mod for the pilot lamp since there is a large hole in the chassis and front panel drilled for it and it isuseful to be able to see when it is powered on.

Friday, March 30, 2018

Rebuilding The Heathit AT-1 Transmitter - Overview


I decided to start a restoration project on this Heathkit AT-1 transmitter. This was Heathkit's first amateur radio kit, and was quite successful, with many built and used in the late 1950s and 60s and even today for fun and nostalgia reasons.

I bought this unit at a hamfest a few years ago and did some restoration to get it working, including painting the case. I made a YouTube video that describes it in detail.


Now I would like to more completely restore it. The copper plated chassis is badly corroded and the construction quality is poor. Many of these units were built by beginners, often young people with limited experience in electronics. No doubt many repairs and mods were also done to this unit in the over 50 years since it was first built. This one has had a modification done to replace the final tube with a 6E26 to get more output - it was described in an article in Popular Electronics magazine in 1958, as well as a few other mods.


My plan is to totally strip it down to the bare chassis, removing all components. Then I will rebuild it from scratch using some of the existing parts and new ones, where possible. I will also undo the mods and revert it back to the original circuit.


Not all parts will be original, so it won't be "museum quality". It is a tradeoff between keeping the original circuit but using new parts so it works as well or better than new. If I was planning to use on a regular basis, I would make some additional changes to make it a little safer: at minimum a grounded cord, fuse, and some safety caps.

A total rebuilt like this is sometimes done for collectable radios. The AT-1 is somewhat collectable, but not particularly valuable. I have always wanted to do a complete rebuild of a Heathkit, and this will be a lot less effort than for a more complex transceiver like a Heathkit HW-101, for example.

Part of the fun will be the opportunity to build a Heathkit from scratch by following the steps in the manual.